| TeamSpeak Setup | |
The following is a procedure for setting up TeamSpeak - developed by Darryl Wightman:
RTMM will be using a TeamSpeak 2 Server for the time being.
If you already have TeamSpeak 2 Client installed then you can skip to the Quick Setup Section.
If you have TeamSpeak 3 installed and do not have TS2 installed you must install the TS2 Client. It is quite acceptable to have both Client versions installed on the same PC.
Before doing anything
else first make sure that you have your headset or microphone/speaker
arrangement already set up and working in Windows.
Where to get the SoftwareThe software can be freely downloaded from the TeamSpeak website at: http://www.teamspeak.com/
Let’s go through the process:
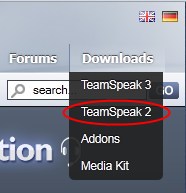
Click on the link provided and you will be presented with the TS home page. Look closely at the right side of the header. You will see a Downloads Nav Link.
Move you mouse over the link and a drop-down choice box should open. Select/Click TeamSpeak2.
Once the next page opens please choose the one that I have highlighted with red ovals.
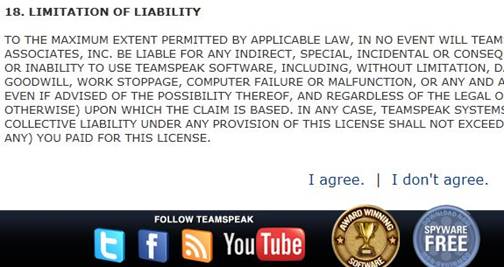
You should then be presented with their disclaimers, etc.. Go to the bottom of that page and click on “I agree”
……. ….
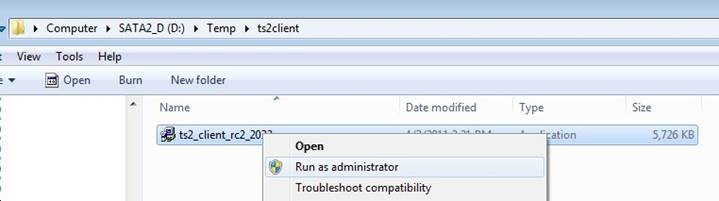
The next step is up to you. You can move the downloaded file from your browsers download location to an empty folder for safe keeping or you could launch the install directly from the download folder.
I moved mine to a new place and as I am running Win7 I made sure to right-click and choose “Run as administrator”.
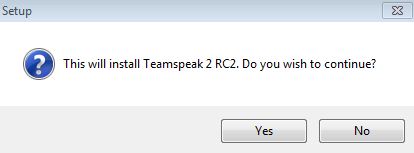
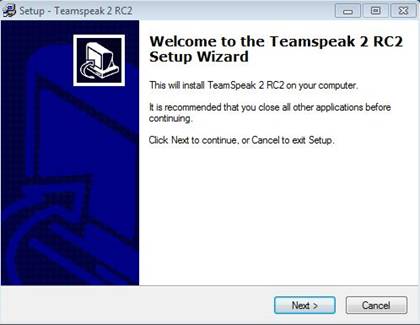
If all goes well you should eventually see something like this:
Of course, you do click on Yes….
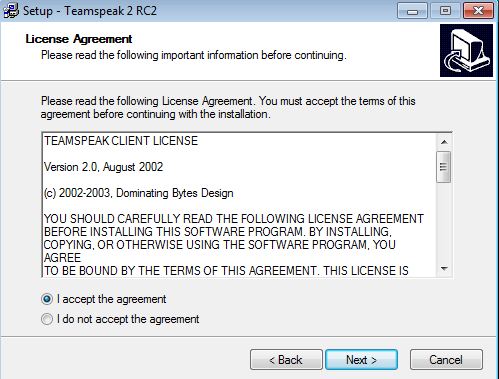
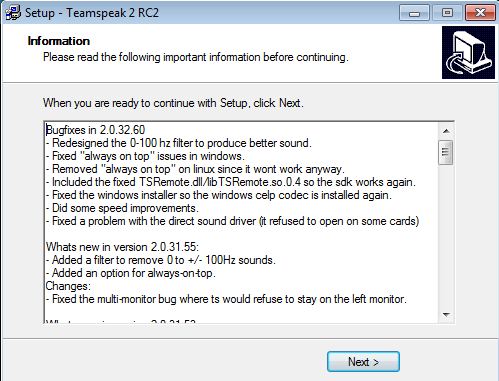
Then “Next”….. and choose the option to accept the agreement….
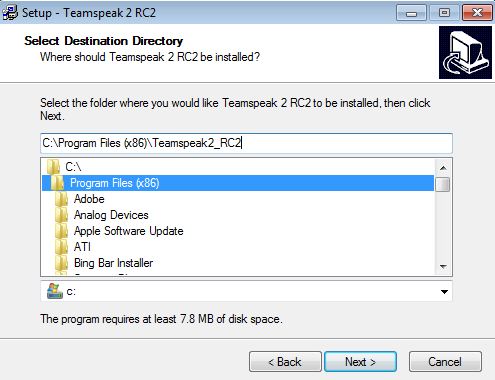
Now comes a decision for you. If you are running Windows XP go ahead and accept the default
Or if you are happier and comfortable to install elsewhere you can do that too.
In this case I chose to install in the Windows 7 64 bit 32 bit app install location. Click “Next”
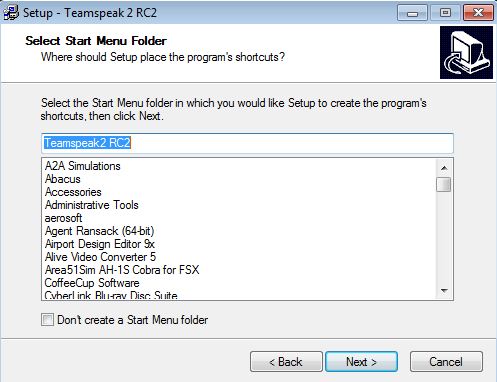
I suggest that you simply accept this option and click on “Next”.
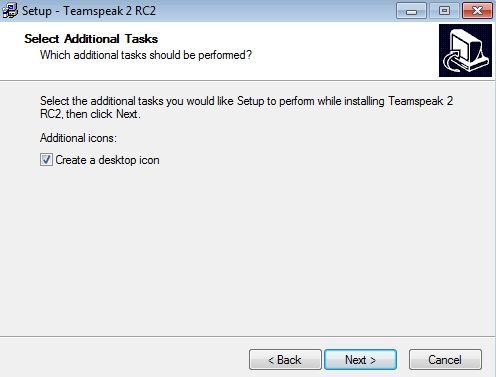
I also chose to add the desktop launch icon so you can too and then click on “Next”
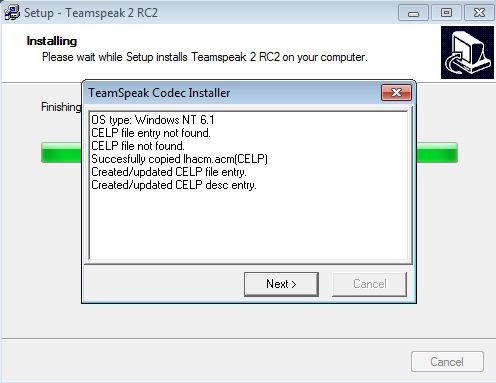
Now that all of the install options have been selected it is time to actually install the software. Click “Install” to proceed.
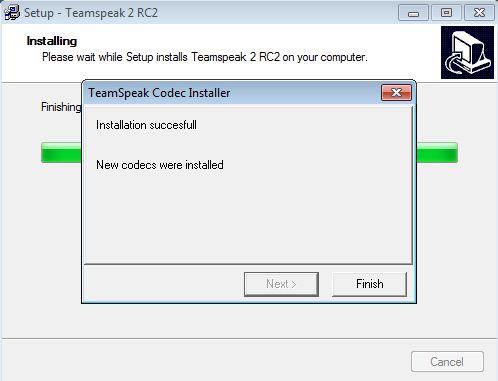
Click on “Finish” to remove the Codec install message.
Just Click on Next ...
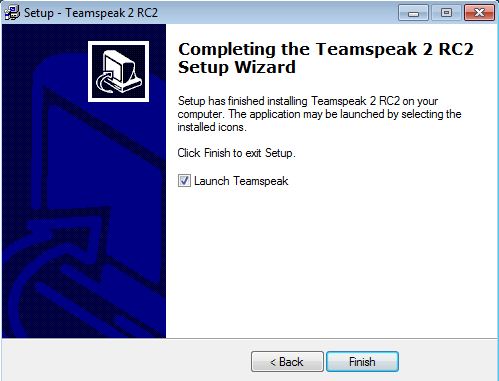
Seems to have worked so go ahead, click “Finish” and launch Teamspeak if you wish.
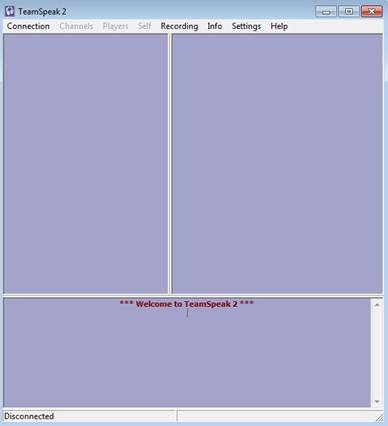
Now it is time to configure TS2 for the first time. Launch the application if not already launched.
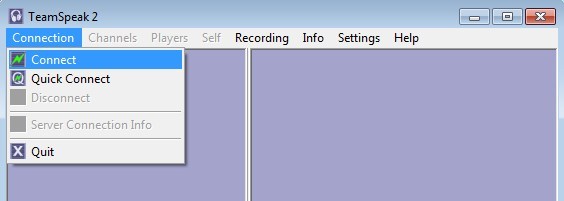
You can use the “Connect” choice to open and add the server details (shown on last page).
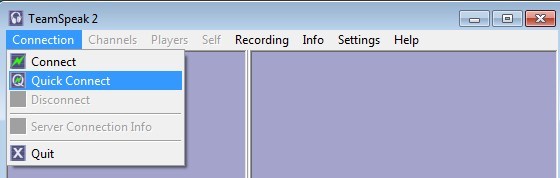
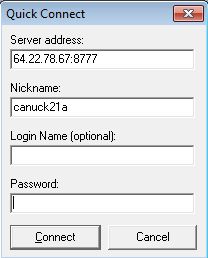
You can also choose to just do a “Quick Connect”…..(this is what we will do for now!)
..which opens a dialogue for you to enter server details. In this case enter the Server address as shown, The IP address plus a : plus the 8777 is what should be entered. Then choose your nickname for the session. Probably a good idea to use you RTMM Forums login code. Do not enter a “Login Name” but do enter the password which is: rtmm2011 Then click “Connect”.
One thing that you should be aware of is the possibility that any firewall that you have may block port 8777. In many cases these firewalls may ask if you wish to allow that program or port. If so, please do let the firewall allow this pgm/port.
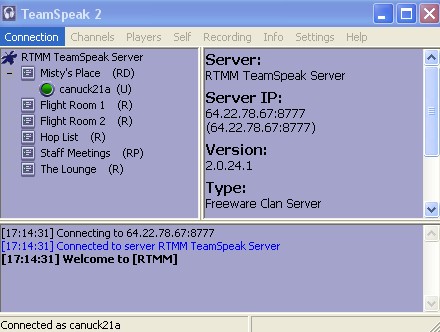
After a short time hopefully the connection will be made and you are then presented with the RTMM TeamSpeak servers Channels. I adjusted the size of the app before I took this screenshot.
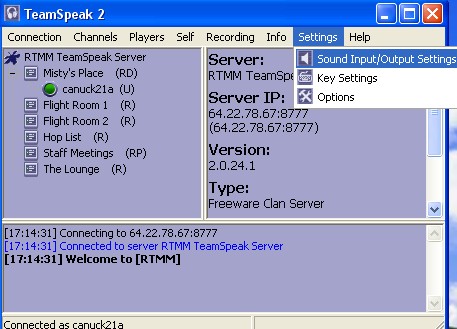
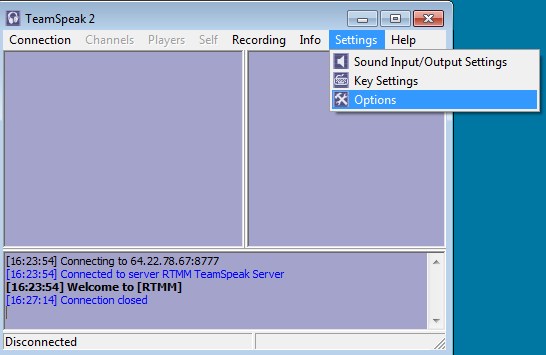
Now is a good time to review the “Settings” for Sound Input/Output.
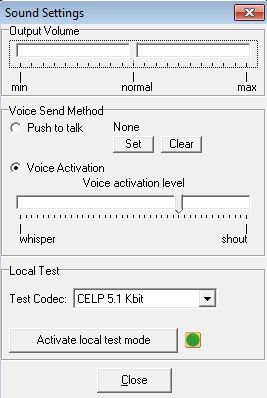
After clicking on that menu option you should see a settings panel
//cont’d next page…… This selection panel allows you to adjust the sound volume and to choose whether or not to use Push-to-Talk. I always use PTT (Push-to-Talk) and I chose my right “Ctrl” Key by clicking on the “Set” button. You can also click on the “Activate local test mode” to check that everything is working for you. Make sure to disable that before closing this panel.
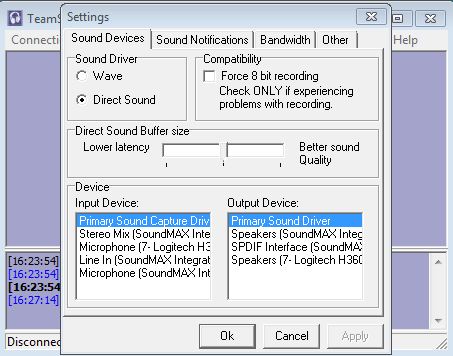
Next go back to the menu and click on the Options as shown below.
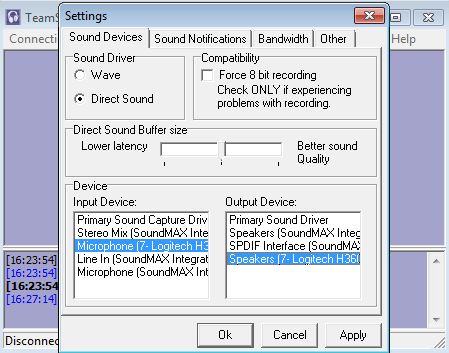
If you look closely my setup is not quite correct as I use a USB connected headset and for that I would have to choose the Input Device as the Microphone from the left side and the Speakers (7-Logitech H360) as that is my headset.
Your may look different but try various settings to see which one provides the best arrangement for you situation.
So now I have chosen mine and I am ready to “Apply”
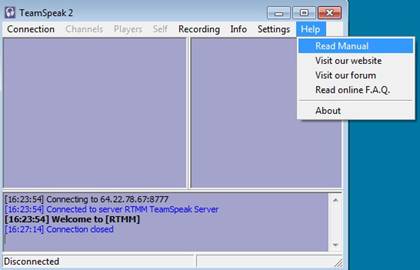
Now if you need more help you can visit the TeamSpeak site or read the manual.
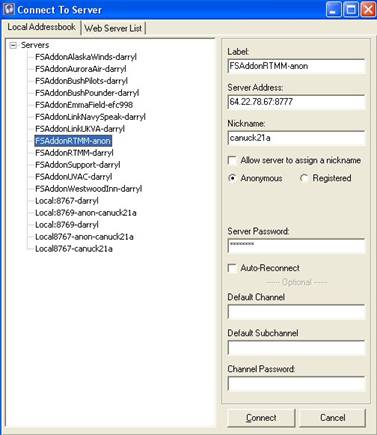
Here is what my Connect Menu provides as I have several servers that I can choose from.
You can create a server connection by right-clicking on the “Servers” then “Add Server” and entering the required detail. Make sure that you have one for RTMM. It should look something like this:
The Label is anything that you enter, the Server Address:Port is very important. Choose your own nickname and enter the password rtmm2011 . I leave the rest blank as they are not really needed. By clicking Connect you do connect to the server and the details that you have entered will be saved as the name you entered into the Label box. <Quick SetupThe RTMM Server details…
IP and Port 64.22.78.67:8777 Password rtmm2011
|
|
| Back to Top | |


 \
\
| FSHost Setup | |
The following is a procedure for setting up FSHost - developed by Darryl Wightman: FSHost Client for FSXNOTAM: To get FIREFOX is set to "ban" the port for seeing the Maps for FSHost. You can over ride this function by following the instructions printed in this PDF document.
Preamble
Many MSFS users have been used to the FS2004 Multi-player capabilities and the internal connection dialogue that was part of FS2004.
That connection method was used to make connections to FSHost servers and/or other available flightsim servers. Note: Always check the server status before connecting as servers can be down for various reasons from time to time. That is why we have backup servers. Details of how to check a server are shown towards the end of this document.
When FSX came out the old method of connecting for multi-player was tossed out by MS and replaced with the GameSpy based multi-player option. This new method also allowed for making connections to other FSX Deluxe systems that were configured to allow connections to them for the purpose of a small group session effectively making that FSX system act as a server for both visual and aural interaction.
Not everyone was happy with the GameSpy concept as the name itself made for a scary thought and then there were issues with disconnects, poor sound and a very non-intuitive interface.
The author of the FSHost server decided to embark on creating an alternative connection method for FSX so that FSX users could then use the same FSHost servers that they had become used to. This method would also allow FS2004 and FSX players to be concurrently connected.
As time progressed a new FSHost server was developed to enable the required features. That development once completed has remained more or less stagnant for several years now so the website that features the applications might be said to be very stable in terms of content.
For the purpose of this document we will be installing the software on the same system that FSX runs on.
The best way to get the software and gain some insight into features, installation and setup can be accomplished by visiting the FSHost site: http://www.chocolatesoftware.com/ . Once there you can choose to visit any one of their offerings including the FSHost Client Page; however, if you wish to go directly to the FSHost Client page use this link: http://www.chocolatesoftware.com/fshost/?fshostclient.html .
Once you are on the FSHost Client Page please do read the page completely and then when ready scroll to the bottom and you will find a link to download the FSHost client software.
Looks like this:
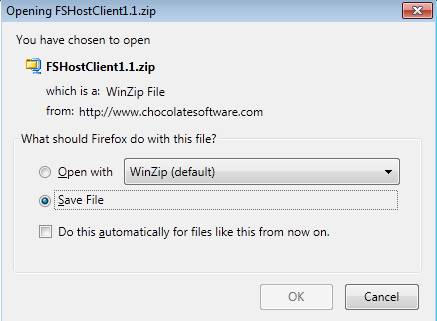
Once you have clicked on the Download link you should be prompted to save the zip file.
Looks like this is Firefox:
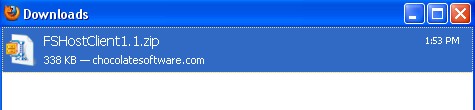
Save the zip file anywhere on your system disks or simply allow the zip to be placed in your default download folder.
Downloading Part is now complete.
Installing the Software:
The FSHost client unlike many Windows application does not have an installer. It is considered a stand-alone windows application and is a 32 bit application so it will work on most any modern Windows personal computer.
I happen to like placing this kind of application in its own directory (folder) and not in any Windows Program folder whether 32 or 64 bit. This makes sure that there are no potential issues with MS and its strange security blanket called UAC. If you have another disk like say “D:\” then you can place the FSHost Client files on that drive.
I actually placed mine on drive “E:\” simply because I have it and that disk is where I place many FSX add-on things.
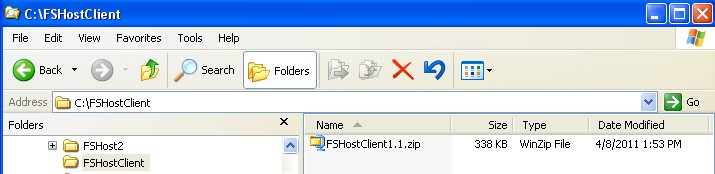
Let’s go through an example where the download has been placed in a new directory (folder) on the “C:\” drive named “FSHostClient”.
1. First I went to the FSHost Client download page and let my browser download the zip file to its default download save folder.
2. I then opened that folder and copied the zip file to my “C:\FSHostClient” folder.
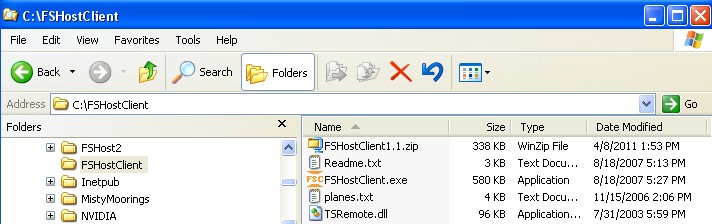
3. I unzipped the file to that folder.
4. Well then ! There seems to be 4 new files including a readme file. Maybe I should see if it contains any important stuff.
Contents of the README file:
FSHostClient 1.1 Copyright (c) 2006-2007 Russell Gilbert Homepage: www.chocolatesoftware.com/fshost/?fshostclient.html Contact: fshost@chocolatesoftware.com
Please see the web site for detailed information about what's new in each release.
------------- Installation: -------------
- Extract all files in the downloaded zip file to any directory. (For example: "C:\Program Files\FSHostClient" would be fine)
- Run the program (FSHostClient.exe) from the directory you extracted the files to.
- Make sure FSX is in "windowed" mode, not "Full Screen". At the moment, you need to have FSX in "windowed" mode in order to see the various popup windows from FSHostClient (chat, multiplayer connect, etc.). You can maximize the FSX window by clicking the middle button up in the right corner, but be sure the "Full Screen" option under the View menu is not checked. (press the Alt key if you don't see the menu bar in FSX).
- Disable local AI traffic in FSX. (Options / Settings / Display / Traffic tab, set "Airline" and "General Aviation" traffic to zero)
- Turn on player names over their aircraft. To do this in FSX, click the Options menu, select Settings, then Display, then click the Traffic tab. You can turn information on and off in the "Aircraft labels" section on the right. Be sure to turn on "Tail number", in order to see the other players' names.
- Connect FSX to an FSHost server. There are two ways to do this. In FSX, start a flight so you're in a plane, then click the Add-ons menu, select FSHostClient, and then "Multiplayer Connect". Or if you want to connect before starting a flight, use the FSHostClient window and click the Multiplayer menu, and select "Connect to session" (or just click Ctrl-M). To disconnect from within FSX, click the Add-ons menu, select FSHostClient, and then "Multiplayer Disconnect". Or in FSHostClient, click the Multiplayer menu and select "Disconnect from session" (or just click Ctrl-D). Works with existing FSHost servers, no upgrade is currently required for FSHost, although a new FSHost will be available later to take advantage of new features in FSX and FSHostClient.
Starting the FS Host Client As the installation of the client does not use the windows installer you will have to make your own shortcut to the executable. Right-Click and drag the FSHostClient.exe onto your desktop. On release of the mouse button you should see an option to “Create shortcuts Here”. Click on that and you now have a quick way to launch FSHostClient. Note that you can copy this or make another link on your start menu or drag it to your Quick-launch bar at the bottom of the screen for easy access.
Assuming that you have made you decision and acted upon it you can now decide on whether to start FSHostClient before or during an FSX session. You can start the app before or when FSX is running.
For now I will start it without FSX running just to go through a test to make sure I can find the RTMM server or its backup server(s). Note that you can connect without FSX in order to chat with others or check the server before deciding to start FSX or join.
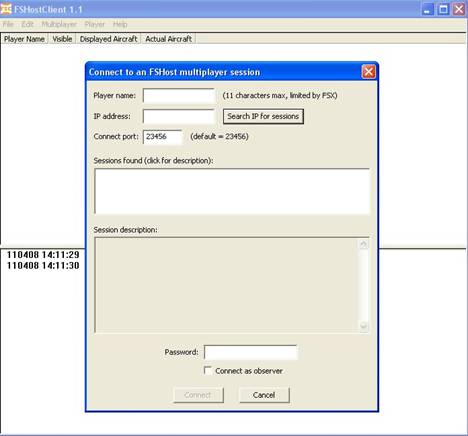
Once you start the FSHostClient you will be presented with a screen something like this although I have made mine a little smaller to take its picture:
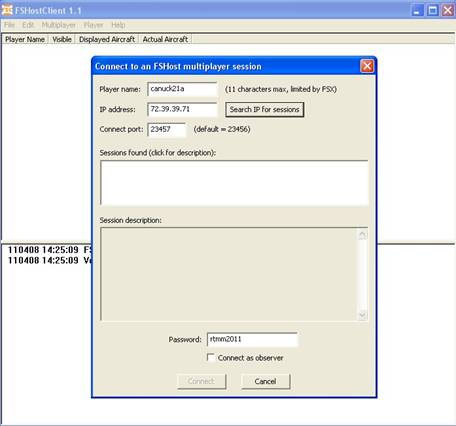
Enter a player name… I will use canuck21a as my nickname Enter the server IP …. I will use one of the backup servers for now (72.39.39.71) Change the Port to …. 23457 (for this particular backup server) Enter the password…. rtmm2011 (for this server)
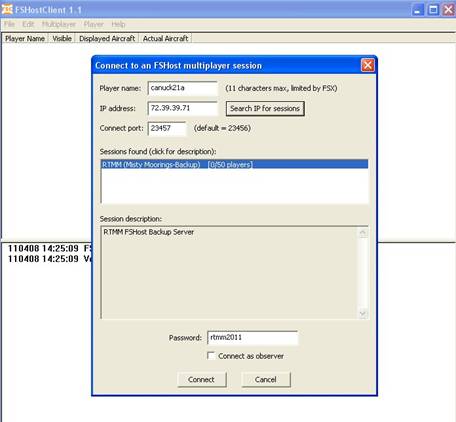
Then click on “Search IP for sessions” After a while you should see something like this if the server is active:
Once an active session is found you can click on connect and if all goes well the Multiplayer Chat Window should appear:
At this point you are connected and able to chat if there is another player already there.
In this case I was the only one there. Note that many servers may have multiple sessions active at the same IP address. Always choose the session that you wish to be part of before clicking on the “Connect” button .
This next section will go through a typical connection scenario;
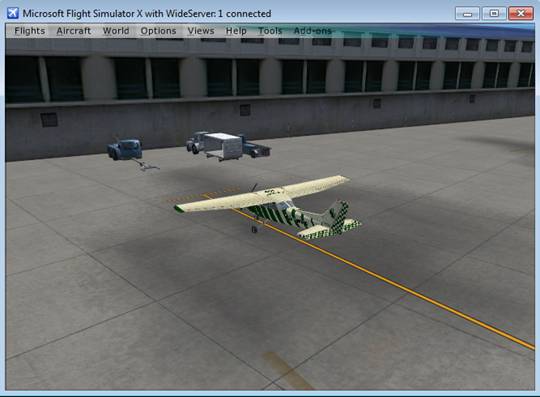
The flight starts out with one other player already at the departure airport and connected to the FSHost backup server. The other aircraft is a standard FSX aircraft as generally using a unique aircraft can lead to improper identification although that can be resolved through the FSHost Client “Change Pilot Aircraft” feature.
The departure is KBUR and the other aircraft is parked at Gate B-5.
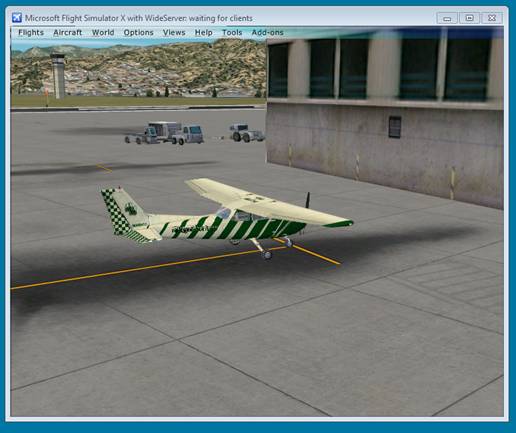
You plan on starting at Parking 2 and set your flight plan or start position so that when you connect you will be at Parking 2. You can also start at any other place but slew to Parking 2 before connecting to FSHost.
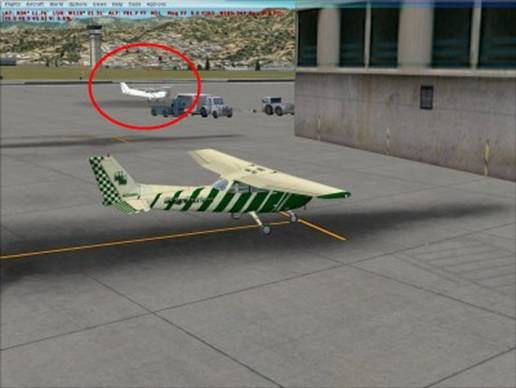
Now I open FSHostClient and connect using the same details that I used for the test but this time when I connected there was another aircraft there at Gate B-5.
This ends the basic Connect to FSHost section.
Tracking your Online Session:
It is always nice to be able to see where your fellow pilot might be while flying or just to find where a pilot is so you can join in.
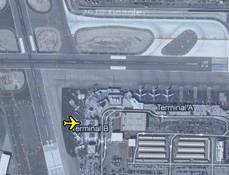
You can use Plan-G for this as there is a built-in Connection to FSX that can be activated resulting in the appearance of other plane icons.
A view from Plan-G using the Hybrid view option.
My plane shows at its parking spot in beautiful downtown
You can also view the FSHost server’s status via a web browser. The ports used vary as do the IP addresses for different servers but you can use these URL’s to view the FSHost Status of the RTMM servers. You may have to let Windows Firewall accept these ports and you may have to configure FireFox or other browser to allow the use of these non-standard ports. MS IE seems to work a little easier than FireFox in this case.
The Main Server: http://64.22.78.67:95
The Backup Server: http://72.39.39.71:96
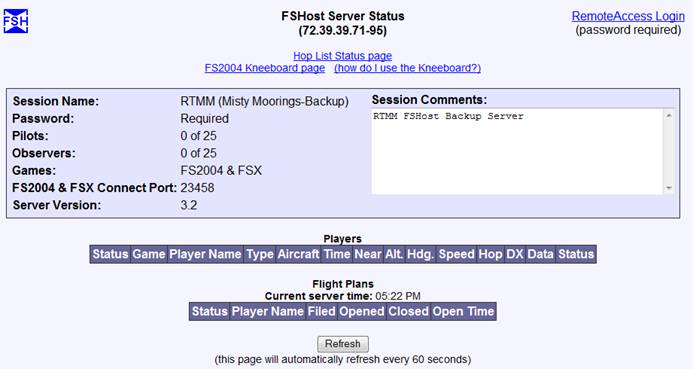
A typical web page for a FSHost server Session:
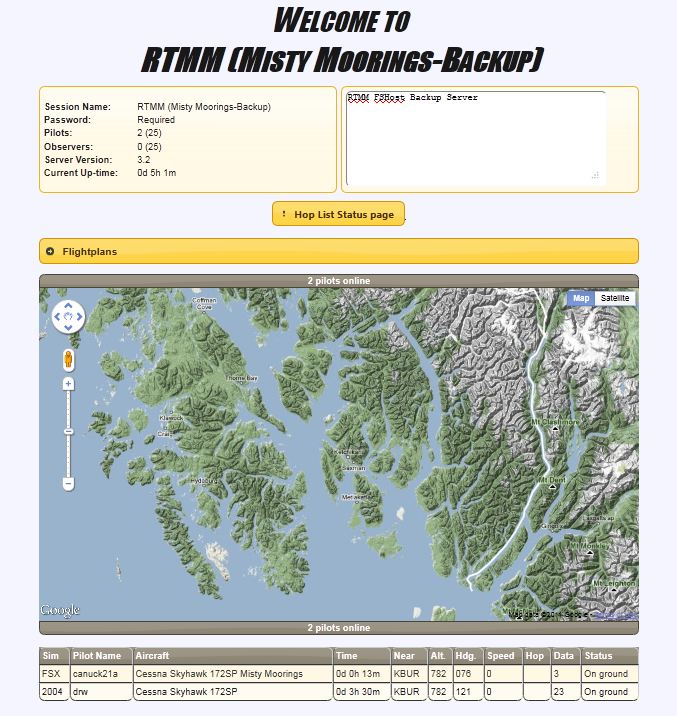
An enhanced web page for an FSHost server Session (beta for
RTMM) with two pilots connected and the Google Earth plotter default position
centered on
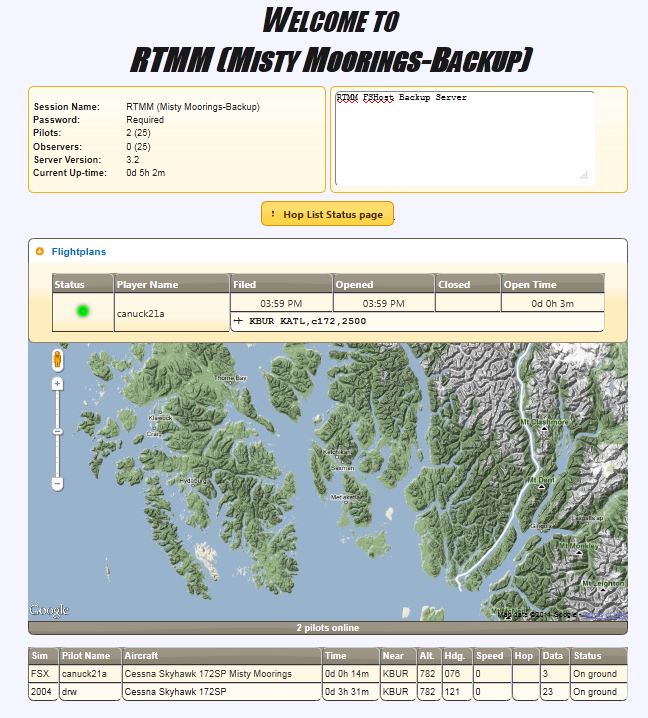
An enhanced web page for a FSHost server Session (beta for RTMM) with the FlightPlan section expanded:
That’s All for now Folks !
|
|
| Back to Top | |


 You
can use FS Commander if you have that as it also tracks other aircraft although
the display is not as modern or “pretty” as that seen in Plan-G.
You
can use FS Commander if you have that as it also tracks other aircraft although
the display is not as modern or “pretty” as that seen in Plan-G.